Monday, October 19, 2009

Dollar Store Hedgehog

I saw this super cute idea a while back and just got around to trying it out! It's a hedgehog made from a car washer mitten from the dollar store! I looked and looked and could not find the original tutorial to link to so I did my own tutorial. If this was your idea please let me know so I can link to you!!

Update: Here is where I found the idea and from there you can get to the original tutorial. Enjoy!

To make your hedgie you will need
-1 car washer mitten from the dollar tree
-two buttons for eyes
-1 pom pom for nose
-batting
First take your car washer mitten and....

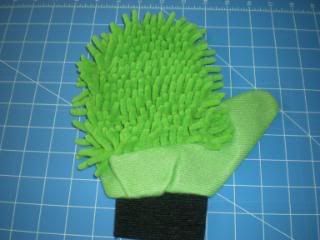
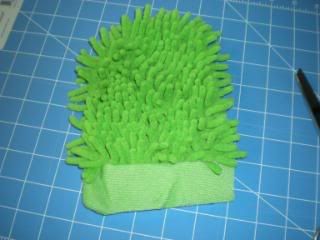
Cut the black part off as well as the thumb, you will want to leave a little extra material when cutting the thumb so you will be able to sew it shut when the time comes

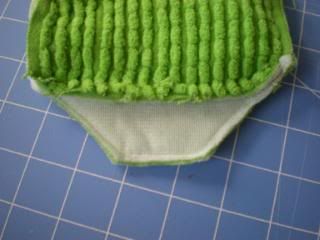
Turn your mitten inside out and cut two diagonal lines as shown below

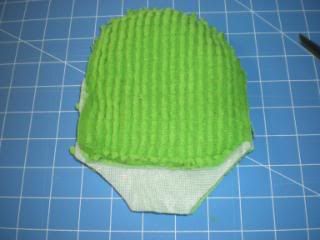
Sew it using your machine lining it up with the foot. Do not sew the thumb hole shut yet!

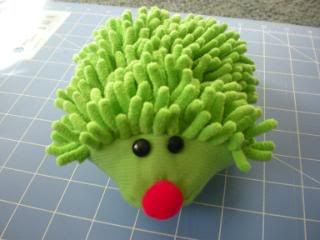
Very carefully turn it right side out through the thumb hole and sew the eyes on

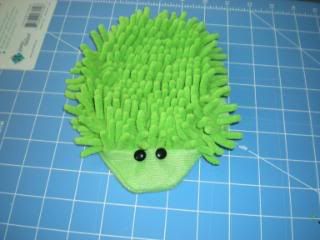
Stuff with batting and hand sew the thumb hole shut. Sew on the nose securely! TaDa! You have a super cute, easy, hedgehog for a dollar!

Monday, October 12, 2009

Cute Spider Decorations

These are fun Halloween decorations that your kids can easily make! You just need black fuzzy... I think they are called pipe cleaners? Well anyway you know what mean by the photos! And if you want them to be super cute, you will need some google eyes and hot glue! They are very easy to make:
Take 4 pipe cleaners and line them up next to each other
Bend them all the way around at the middle (kind of twist like a twisty tie)
Arrange the legs, make a knee and foot for each leg
Glue on google eyes if desired!
Decorate!
On lamps


Outside

Without google eyes for extra creepiness!


Monday, October 5, 2009

Alphabet Lids!

Eden loves playing with baby food jar lids! I thought it would be fun to save a bunch of them and put all the letters of the alphabet inside for when she gets a little older.

Here's what I did:
I traced a lid on some cardstock paper
I cut out all the circles (26 of them) and wrote the letters on each one
I pushed the circles down into each lid, it should fit nice and snug and be very hard to get out
I covered a formula can with scrapbook paper to store all the alphabet lids in

I think I will keep saving lids so I can do numbers and shapes too. I think when I do the shapes I will make two of each one so they can also be a memory game!